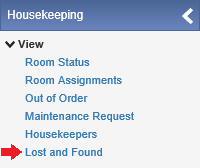
Lost and Found
For hotels that track items lost or misplaced by guests, Chorum accommodates the need to accurately track these items through the use of the Lost and Found menu, located in the Housekeeping module.
Alternatively, be aware this menu can also be accessed from the Chorum Mobile app, provided you have access to the mobile housekeeping menus.
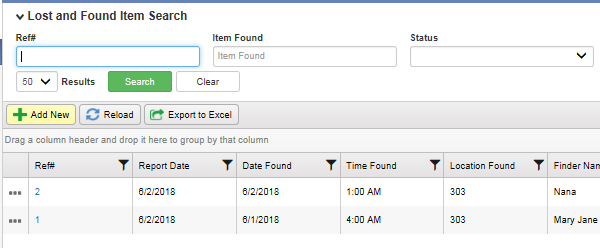
If your property has already begun using the menu and you need to locate a reported item, use the search options at the top of the menu (or scroll manually through the list below) to locate the desired item, then click on the reference number (Ref#) to left of the item to update it. Otherwise, if you're attempting to add a new item, click the Add New button just below the search filters to open a blank form.
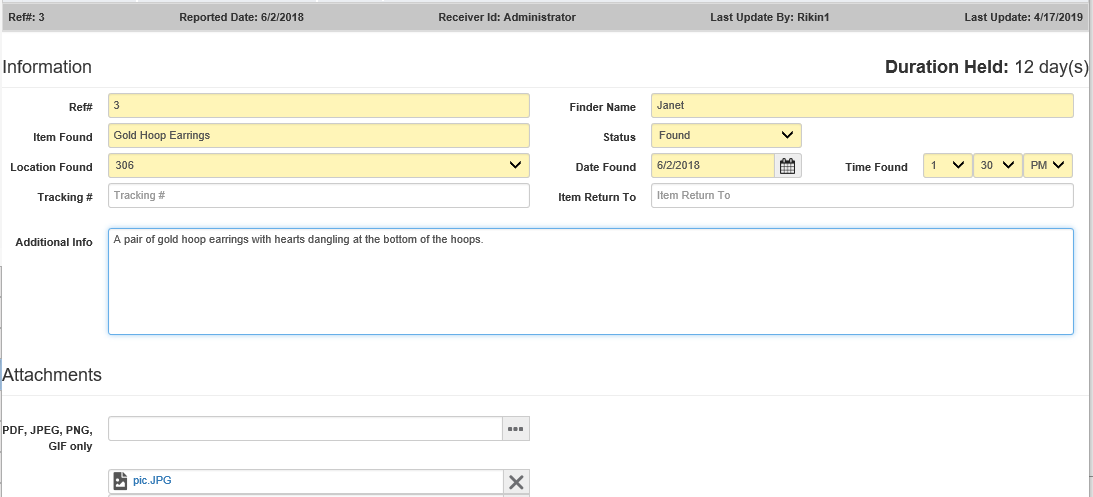
Before you can save an item on this menu, you must make sure all yellow (required) fields have been filled in by either choosing the appropriate drop-down options or typing in a value. While the remaining fields are not required to save the item, we still strongly recommend filling out all fields to the best of your ability for best results. See the list at the end of this page for a description of each field.
Once you have finished filling out the lost and found form, save your work in the upper left corner.
- Quick Reference: This bar running along the top of the form displays the item's reference number, the date the items was report found, who added the item to Chorum, and who last modified the form. The date and last update options will not show relevant data until after the item has first been saved.
- Duration Held: Until the item's status has been changed from Found to Delivered or Disposed, this field in the upper right corner of the form counts the number for business days elapsed since the item was first logged in Chorum.
- Ref #: The item's reference number is a unique value generated and assigned to each item by Chorum at time of creation.
- Finder Name: As the person who found the item may not necessarily be the individual filing the lost and found form, use this to note who found the item.
- Item Found: Provide a short, succinct description of the item that can be understood at a glance. We usually recommend limiting this to a few words.
- Status: By default, all new items begin with the status Found. After being saved, the status can freely be changed to Claimed, Delivered, or Disposed.
- Claimed - The item is presently being held by the hotel, but the item's owner (or someone reaching out on the owner's behalf) has confirmed ownership of the item and arrangements has been made to return the item.
- Delivered - The item has successfully been returned o the item's owner.
- Disposed - No claim was made for the item, and the item has since been removed from the hotel's possession (thrown away, given to charity, etc.)
- Location Found: Select the room number the item was discovered in from this list. If the item was not located in a specific room, set the option to "Lobby"
- Date Found: By default, this field automatically matches the current business date at the time of recording the item. If the item was found on a different date (for example, the item was found a few days prior but your hotel only catalogs lost items once a week), note the original date the item was found here.
- Time Found: Specify the approximate time the item was found, if available.
- Tracking #: If your property returns a guest's lost item via postal service (FedEx, UPS, etc), reference the item's tracking number here.
- Item Return To: If the item has been claimed, note the individual who claimed the item here.
- Additional Info: If applicable, include a more detailed description of the item here.
- Attachments: At the bottom of each form, you may attach any number of PDF, JPEG, PNG, or GIF files to the item to help identify it or log related documents (such as a saved tracking receipt). Click the ellipses (...) button to add a file from your computer.
Once attached, the file appears as a hyperlinked item below the attachments fields. If you click on the attachment's name, a new window opens to display the attached fiel. If you decide later to remove an attached item, simply click the X to the right of the attachment's name.